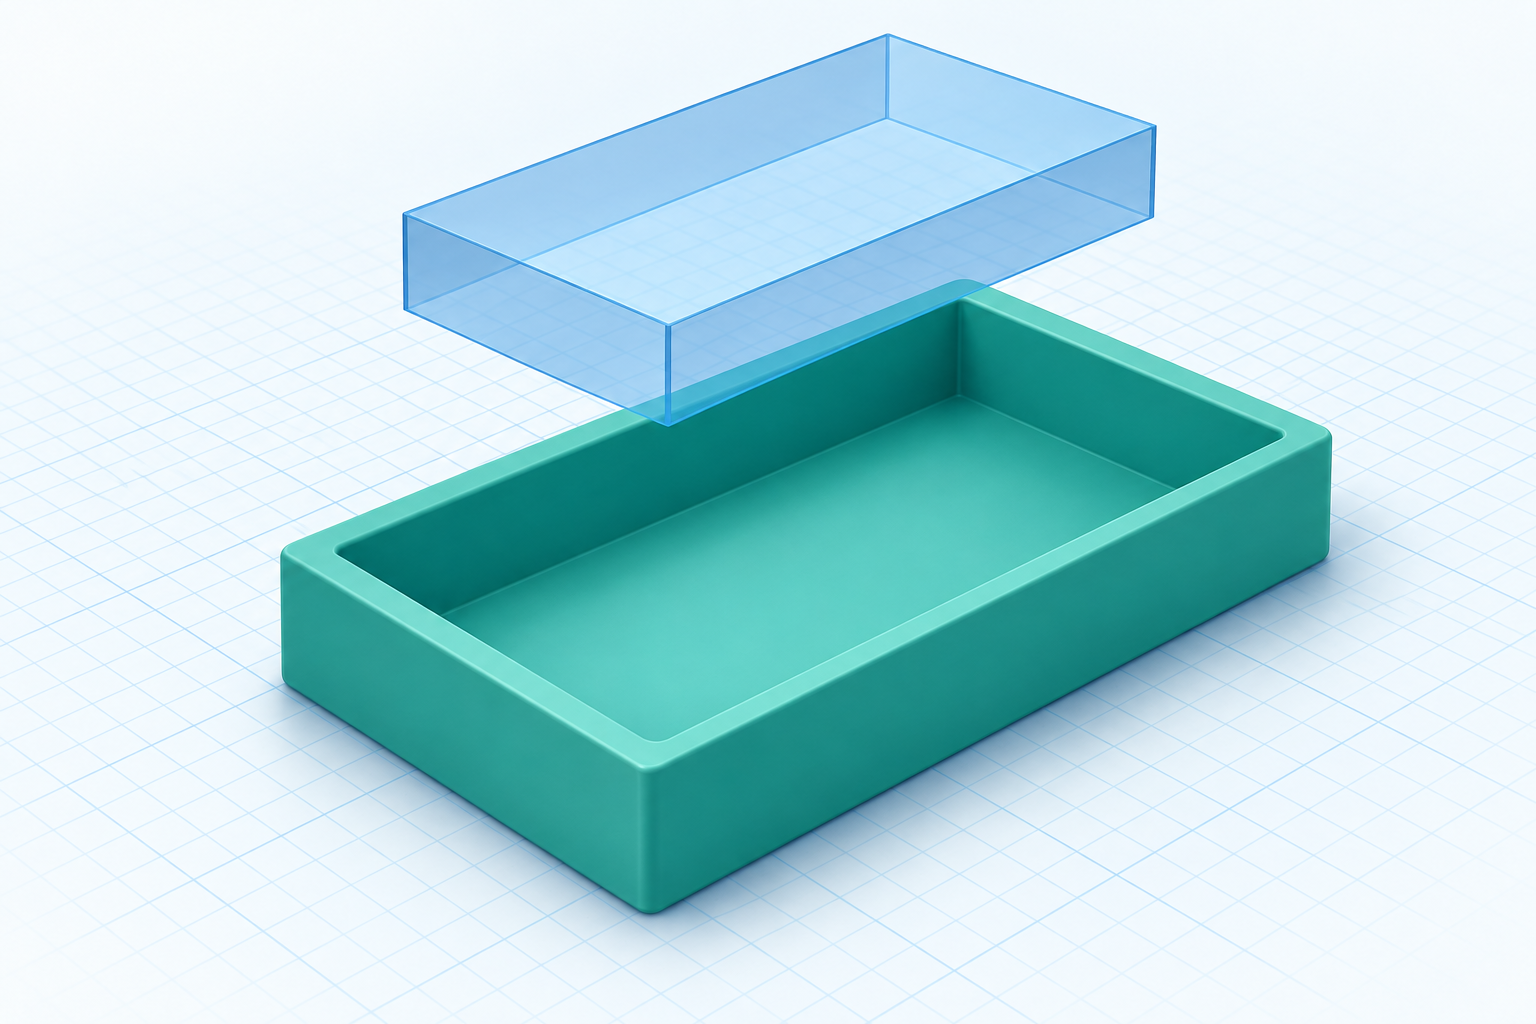
A shallow tray is a useful first CAD project because its design decisions are easy to see. It needs an outer shape, an open compartment, a floor, and enough room for whatever you want to store. You can build that geometry from two boxes: one becomes the tray, and the other removes its interior.
This exercise uses a rectangular tray for paper clips or other small desk items. The dimensions are a modeling example, not a tested print profile. Start with plain, square-edged boxes so you can understand the cavity before adding decorative details.
Plan the inside as well as the outside
Use millimetres. Make the tray 80 mm long, 50 mm wide, and 15 mm tall, with 3 mm side walls and a 3 mm floor. The internal opening will be 74 × 44 mm, and its depth will be 12 mm.
| Feature | Practice dimension |
|---|---|
| Outer length × width | 80 × 50 mm |
| Overall height | 15 mm |
| Side-wall and floor thickness | 3 mm |
| Interior length × width | 74 × 44 mm |
| Usable interior depth | 12 mm |
The opening is smaller than the outside by two wall thicknesses: 80 − 3 − 3 = 74 mm. This calculation becomes useful whenever you design a container around an object. Start with the space the object needs, add any clearance, then add the walls.
1. Create the outer body
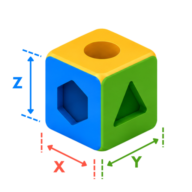
Open SimplerCAD, choose a Box from Create, and enter the outer dimensions. In the orientation described by the manual, Y is vertical, so a flat tray uses X = 80, Y = 15, and Z = 50 mm. Check the axis labels in your workspace before entering values.
Use Floor to place the body on the bed and Center to position it. Rename it “Tray body.” Look from above and from the side: the 80 × 50 mm face should lie flat, and the height should be 15 mm. Save a project version before the cut.
2. Make the cavity cutter
Add another plain Box and name it “Interior cutter.” Give it a footprint of 74 × 44 mm and a height of 14 mm. This cutter is deliberately taller than the desired cavity: its lower face will sit 3 mm above the tray bottom, while its upper face extends 2 mm beyond the rim.
Align the cutter with the body along the two horizontal axes only. Do not center it vertically, because that would leave a different floor thickness. Use the side view and measurement tools to place its bottom 3 mm above the bed. With the body’s bottom at zero, the cutter occupies heights from 3 to 17 mm.
Before cutting, verify three things: the cutter is centered in the footprint, a 3 mm layer remains below it, and it passes through the top surface. Those checks explain the resulting shape more clearly than a perspective view alone.
3. Subtract and inspect
Use Boolean Subtract with Tray body as the target and Interior cutter as the tool. Check the operand order before applying the operation. If you retain the cutter, move it aside afterward so it does not fill the opening visually.
The result should have one open compartment, four walls, and a continuous floor. Orbit underneath to check that the bottom is intact. If the compartment is sealed, the cutter did not reach above the rim. If there is no floor, undo and raise the cutter’s lower face.
4. Make a useful variation
Save the simple tray before experimenting. To create two compartments, return to the uncut body and use two smaller cavity cutters with a gap between them. That gap becomes the divider. Plan each compartment’s opening first, then check that the divider and outside walls retain the thickness you intend.
For a longer tray, change the outer length and recalculate the cavity length. Scaling the completed tray also scales its walls and floor, which may not be the change you want.
5. Prepare a print candidate
Run Print check and inspect any reported geometry issues. Save the editable project, then export only the finished tray to STL. In your slicer, confirm the 80 × 50 × 15 mm outer size and examine the layer preview around the floor and walls. Choose print settings for your printer and material; the model dimensions alone do not establish a successful print.
Use the SimplerCAD manual for Create, Align, Boolean, and Measure controls. For another guided exercise, visit the tutorials.